A couple of months ago, my mother asked if I would "take the reigns" on her living room. She couldn't seem to decide on a paint color, or pin point what wasn't working for her in this room. All she knew was, it WASN'T working!
Here were her complaints:
#1 It was TOO DARK! My mom loves dark colors, but admitted that layers and layers of them had turned her living room into a cave!
#2 It didn't function. The only time this room was EVER used, was when my parents had a party or gathering. Whenever us kids came over to chit chat with my parents or watch a ball game, we would all pile into their master bedroom, sitting on the floor & edge of the bed (since there were only 2 chairs in the room.) The considerably large living room served only as a "passage way" between their bedroom and the kitchen. For some reason, no one wanted to sit in it.
My task: To take this dark, foreboding room and make it fresh, modern, & functional- without losing the western style my parents love.
Here's the BEFORE
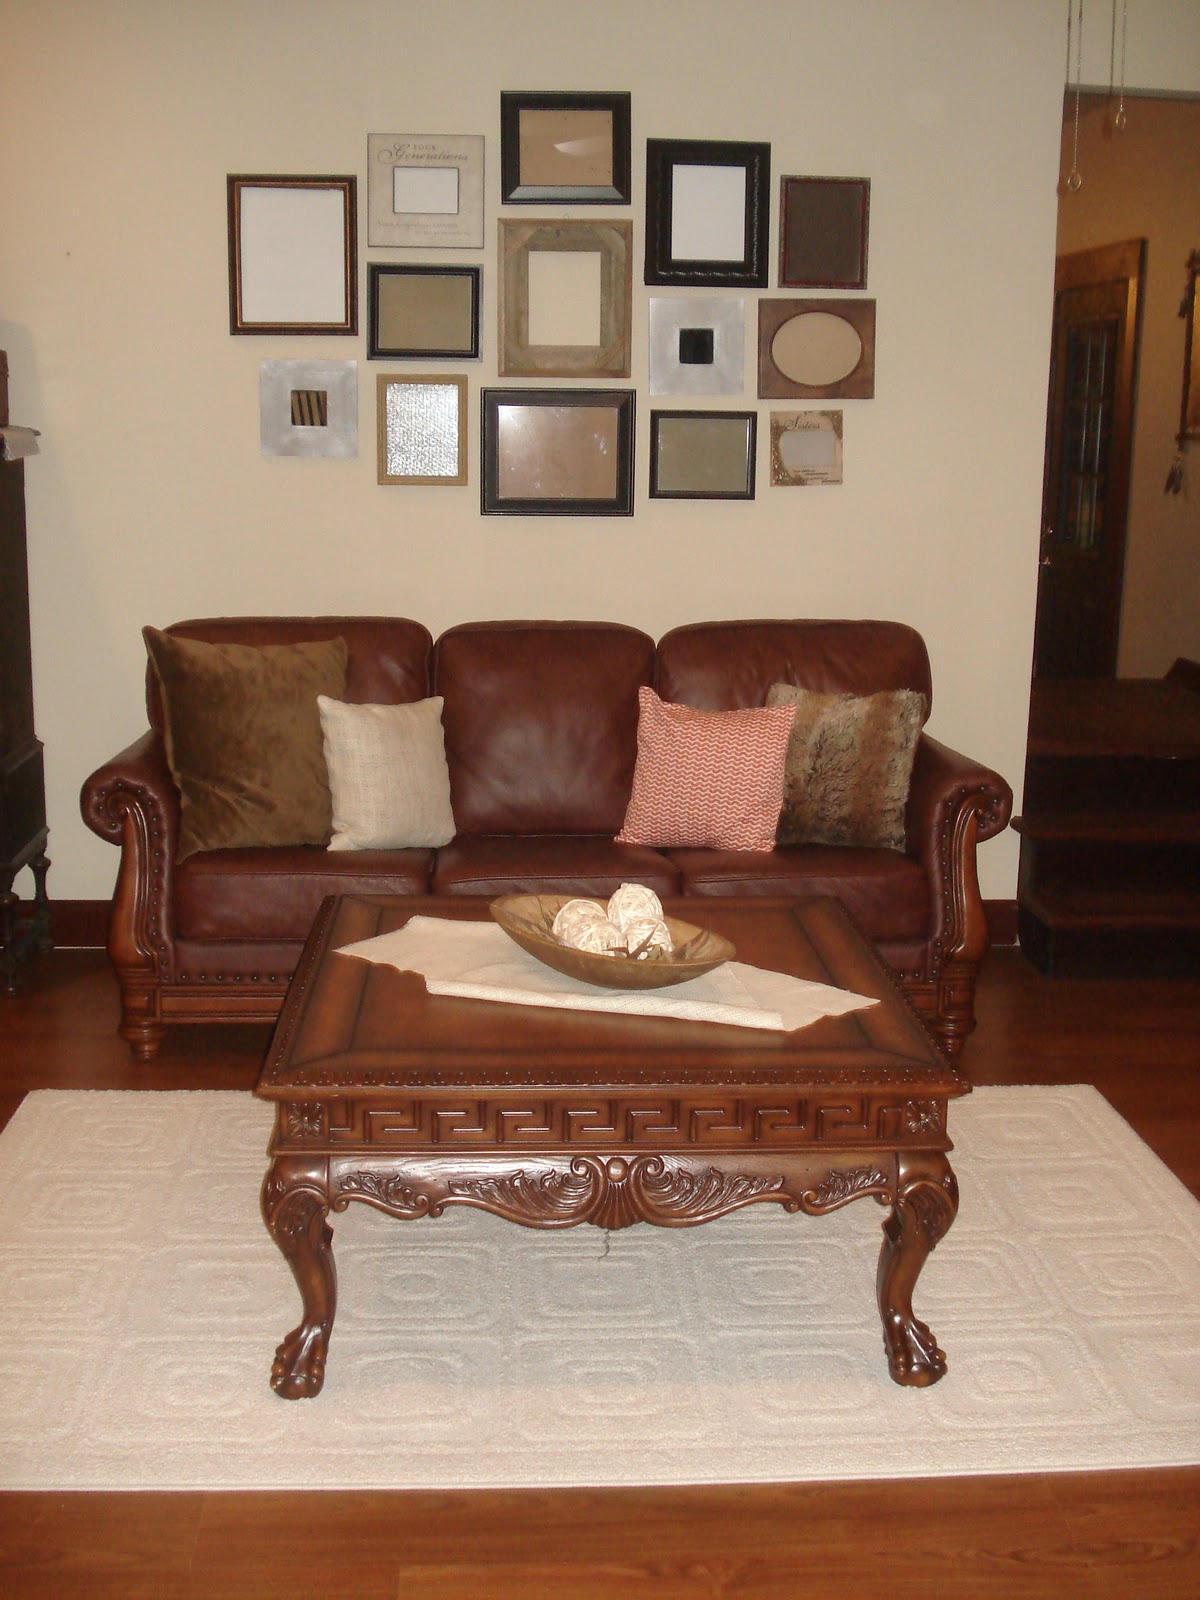
Here's the AFTER:
When you have dark trim and doors in your house, going with lighter walls is a must. Contrast is important, and Kilim Beige on the walls really makes the beautiful stone fireplace stand out as the focal point of the entire room.
Switching her dark candles to white ones creates a fresh, clean look. In keeping with the earthy, organic vibe of the room; we added some lightly colored rattan balls in clear apothecary jars.
The brown suede throw pillows got re-covered with beautiful fabrics and even some burlap for added texture, and a pop of color!
By simply re-arranging the furniture my mom already had (and pulling some pieces from other rooms,) we created 3 different seating areas within the room, that beckon you to come and sit.
Before, it was easy to drown in a sea of dark brown in this room. By placing a light colored rug between the dark wood furniture and the dark wood floor, it breaks up the monotony. :)
The over-the-window dark shelves were replaced by floor length panels, which draw your eye up and make the room appear taller. (Tip: Another aid in making the ceiling look higher is painting it 1 or 2 shades lighter than your wall color.)
Bringing in small elements in a mixture of different finishes like pewter, antique brass, straw & pottery helped to create warmth in the space, and makes the darker pieces stand out more- instead of all blending together.
The small (almost non-existent) entry way needed some defining. Mom has always been unhappy that you seem to be stepping into the center of the room when you walk in the door. The furniture helps create an illusion of a small square entry area, along with hooks for a coat or hat, and a small round rug.
Family photos in black and white will be going into the frames in the collage. This myriad of mix-matched frames brings in a small eclectic element (which mom asked for,) without losing a rustic feel.
By the way....
This coffee table is FOR SALE along with 2 matching end tables,
and (possibly) a matching console table! :)
It's taking up a little too much space in the room and will be replaced with some fabric upholstered ottomans.
~~~~~~~~~~~~~~~~~~~~~~~~~~~~~~~~~~~~~~~~~~~~~~~~~~~~
TIP
for hanging pictures in a pattern
First, arrange your frames on the floor... playing with them until you achieve the look you want. Then, lay them out on paper- (I used the backside of wrapping paper, which conveniently had a 1'' grid marked out for cutting.)
Simply trace your frames on the paper, drawing an "X" where the nail needs to go.
Hang the paper on your wall. (Here's where you can move it up, down, side to side, and level it...a lot easier than doing that with the real frames!)
When you get it just right, go ahead and hammer a nail thru each "x" mark, so your holes with already be there. Now, hanging the real pictures is not a guessing game!
If you're doing a collage like this one, and you're not sure about spacing, stick to 1 inch. It's a good place to start. :)